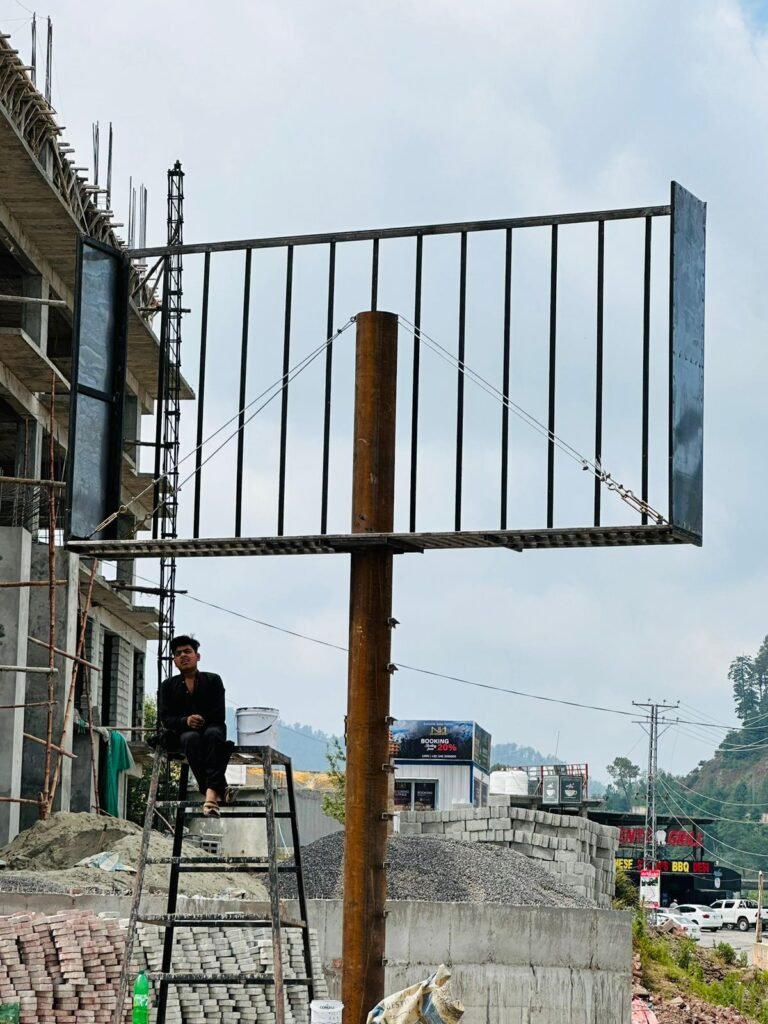
If you’re planning an SMD Screen Installation for indoor advertising, outdoor displays, or event setups, getting it right is crucial for achieving the best results. SMD screens are known for their bright, energy-efficient displays, but improper installation can reduce their performance and lifespan. This SMD Screen Installation Guide will walk you through the steps to ensure your screen is installed for optimal performance.
Step 1: Choose the Right Location
The first step in any successful SMD Screen Installation is picking the perfect spot. Think about these important factors:
- Viewing distance: How far will your audience be? Make sure the screen size and resolution match the viewing range.
- Lighting conditions: Outdoor installations should avoid spots with excessive glare, while indoor installations should ensure lighting doesn’t affect visibility.
- Weather conditions: For outdoor screens, ensure the spot offers protection from heavy rain or direct sunlight. Outdoor SMD screens must be weatherproof and durable.
Step 2: Prepare the Mounting Structure
Before proceeding with the SMD Screen Installation, you’ll need a solid mounting structure to support the screen’s weight. Whether wall-mounting or using a free-standing setup, a sturdy framework is key.
- Wall-mounting: Ensure the wall is strong enough to hold the weight of the SMD screen. High-quality brackets are essential.
- Free-standing setup: For this, build a metal or steel structure that offers adequate support for the screen. A properly prepared structure is critical for future maintenance or repairs.

Step 3: Unpack and Inspect the Screen
Once the structure is ready, the next step in your SMD Screen Installation is carefully unpacking the screen. Inspect the screen and all components, including power supplies and cables, for any visible damage. Handle the screen gently to avoid damaging the display panels.
Step 4: Assemble the Screen Panels
In many SMD Screen Installations, the screens come in modular panels that need to be assembled on-site. Follow the manufacturer’s instructions closely:
- Align the panels: Make sure the panels align seamlessly, with no visible gaps.
- Secure the panels: Use the provided bolts and screws to attach the panels securely to the mounting structure. Ensuring all connections are tight is key to avoid issues later on.
Step 5: Connect the Power and Data Cables
An important part of any SMD Screen Installation is connecting the power and data cables properly. This ensures your screen operates smoothly without any technical glitches.
- Power cables: Double-check that all power cables are connected tightly and match the voltage requirements.
- Data cables: Use these to connect the screen to the media controller, which enables it to display images and videos. Ensuring a stable power supply will prevent overload and ensure reliable screen performance.
Step 6: Test the Screen Before Finalizing Installation
Before finalizing the SMD Screen Installation, it’s essential to test everything:
- Power up the screen: Turn on the screen and ensure everything lights up properly.
- Check the display: Display a test image or video to make sure the visuals are clear, bright, and free of glitches. If you spot any issues, troubleshoot before moving to the next step.
Step 7: Adjust the Viewing Angle
Adjusting the viewing angle is an important part of a successful SMD Screen Installation. For outdoor installations, you may need to tilt the screen slightly for better visibility. Indoors, the screen should be positioned to attract attention and offer clear visibility from various points in the room.
Step 8: Secure and Finalize the Installation
Once the screen’s performance and visibility are satisfactory, secure everything to finalize the SMD Screen Installation:
- Tighten screws and bolts: Make sure the screen is securely mounted to prevent shifting.
- Organize cables: Use cable ties to arrange power and data cables neatly. This not only makes the setup look professional but also reduces risks. For outdoor screens, ensure all connections are weatherproofed to protect against environmental factors like rain and humidity.
Step 9: Calibrate the Screen
After installation, the next step in the SMD Screen Installation Guide is calibration. Proper calibration guarantees optimal display quality. You’ll need to:
- Adjust brightness and contrast: Set the levels according to your location’s lighting conditions.
- Color calibration: Make sure the colors are balanced and accurate.
- Resolution settings: Ensure the screen displays content in the correct resolution for sharp images. A well-calibrated screen provides a vibrant and crisp viewing experience for your audience.
Step 10: Regular Maintenance
Finally, regular maintenance is a critical part of the SMD Screen Installation process. Clean the screen periodically and inspect the connections to ensure everything remains in good working order. For outdoor screens, it’s especially important to keep an eye on the weatherproofing to protect the screen from dust and rain. Address any issues promptly to avoid long-term damage.