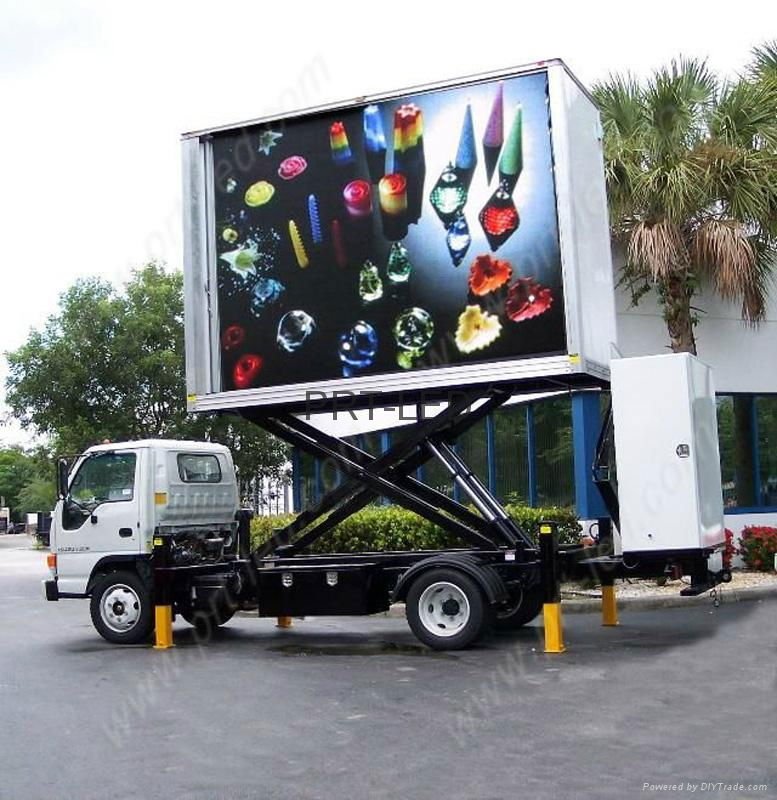
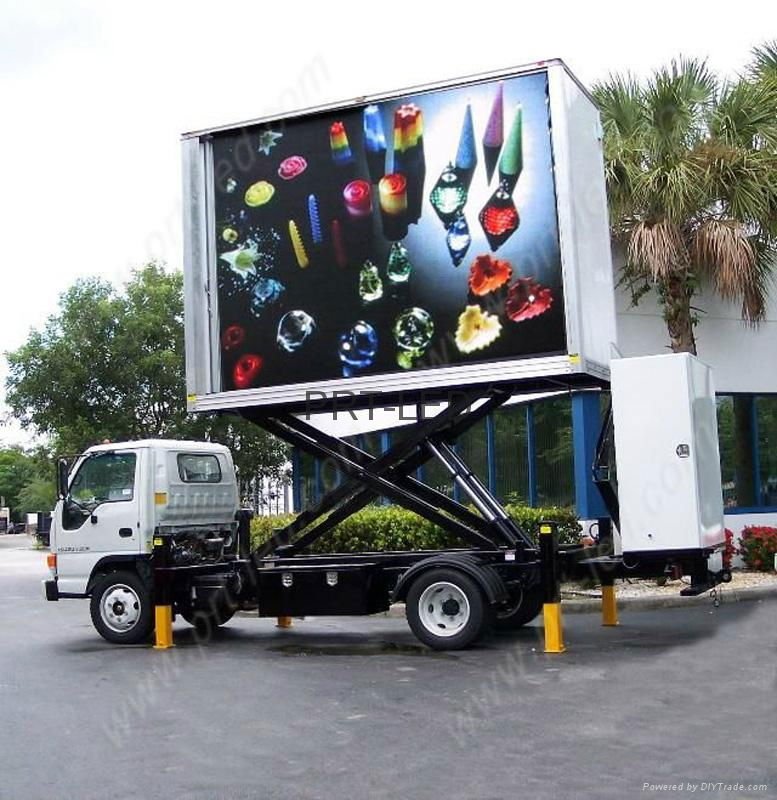
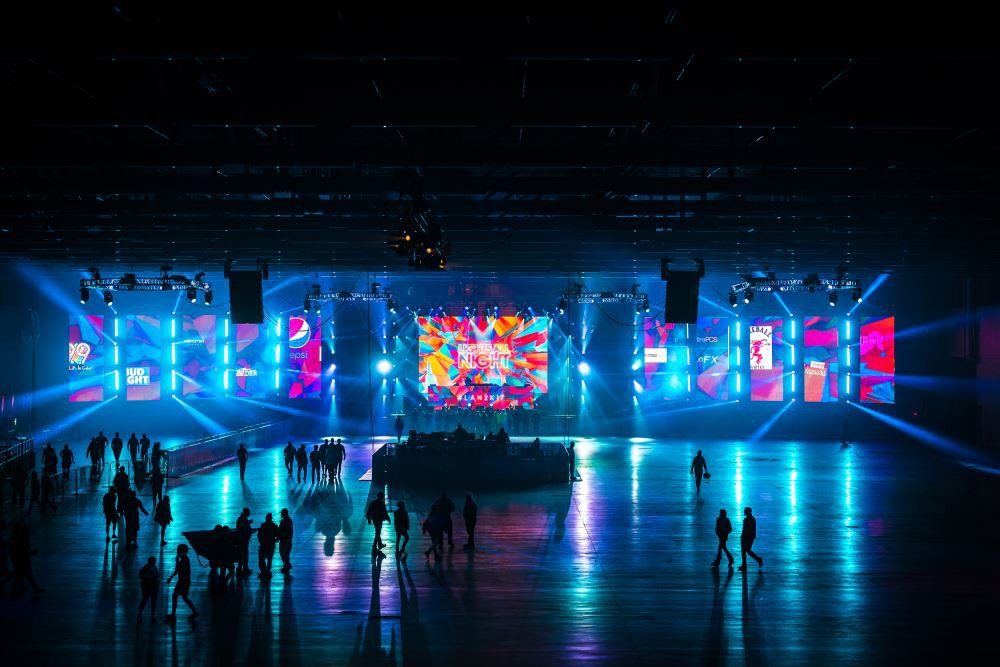
LED screens have become an integral part of modern digital displays, widely used for advertisements, entertainment, and information sharing. Whether you are setting up an outdoor LED screen with a cabinet or an indoor LED module without a cabinet, following the right installation steps ensures a durable and high-quality display. This guide provides a detailed, step-by-step approach to installing LED screens effectively.
Outdoor LED Screen Installation with Cabinet
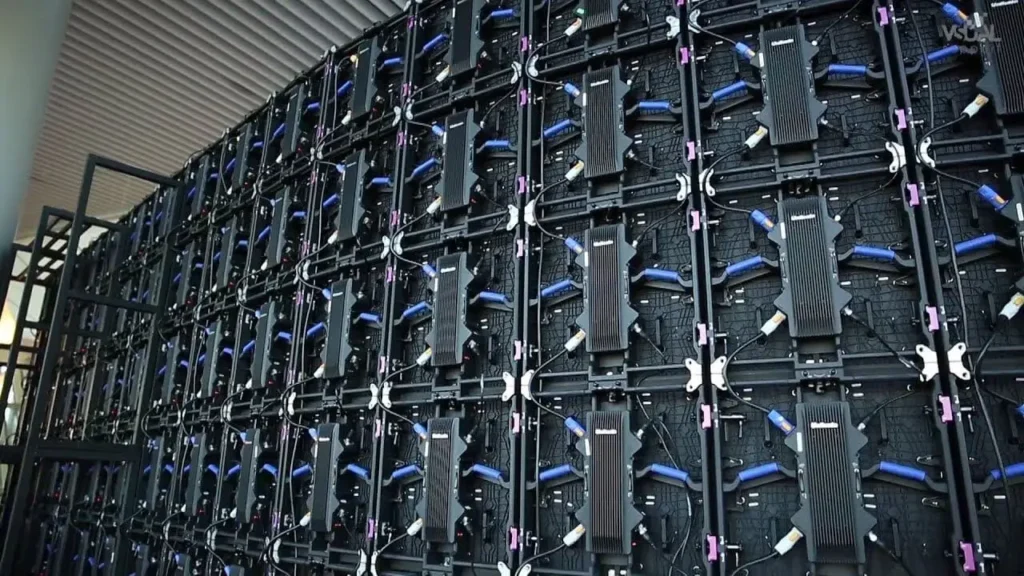
Step 1: Survey the Location and Size of the LED Screen
Before installing an LED screen outdoors, a comprehensive site survey is necessary to determine the best placement for visibility, structural integrity, and electrical requirements.
- Survey the Location: Identify a stable, well-supported structure that can withstand weather conditions such as rain, wind, and sunlight exposure.
- Calculate the Size of the LED Screen: Measure the area where the screen will be installed to determine the dimensions of the LED display. This will help in selecting the appropriate number of LED cabinets and ensure the best viewing experience.
Step 2: Build the Frame Based on the Measurements From Your Survey
The LED screen requires a strong framework to support the cabinets securely. The frame should be made of durable, rust-resistant materials like galvanized steel or aluminum.
- Ensure that the frame is properly leveled and aligned with the planned dimensions.
- Reinforce the structure with additional supports if the LED screen is large or positioned in a high-wind area.
Step 3: Install the LED Cabinet on the Steel Structure
Each LED cabinet is a modular component that fits together to form a complete LED screen. Installing the cabinets correctly ensures a smooth and seamless display.
How to Fix an LED Display Cabinet to a Steel Structure?
- Align the first LED cabinet with the mounting frame and secure it using bolts or mounting brackets.
- Continue adding more cabinets, ensuring that each is level and properly connected to the adjacent ones.
- Tighten the bolts and check for any gaps between the cabinets.
Step 4: Connect the Signal Cable
The signal cable transmits video data from the control system to the LED screen. Proper wiring ensures a stable and clear display.
- Use high-quality signal cables to prevent interference.
- Connect each cabinet’s signal input and output ports in a daisy-chain configuration.
Step 5: Connect the AC Cable
Powering the LED screen requires a reliable AC power source.
- Connect the main power supply to the LED cabinets.
- Use appropriate circuit breakers to prevent overload or short circuits.
- Verify voltage compatibility to avoid damage to LED modules.
Step 6: LED Display Debugging and Sending Programs
After installation, debugging ensures that the LED screen operates correctly.
- Test each cabinet individually to check for dead pixels or color inconsistencies.
- Configure the display settings using LED control software.
- Upload and test the content to ensure smooth video playback.
Step 7: Follow-up Maintenance and Checkup
Regular maintenance extends the lifespan of your LED screen.
- Clean the screen periodically to remove dust and debris.
- Inspect power and signal cables for wear or damage.
- Update software and calibrate the screen as needed.
Indoor LED Screen Installation Without Cabinet (LED Module Installed Directly)
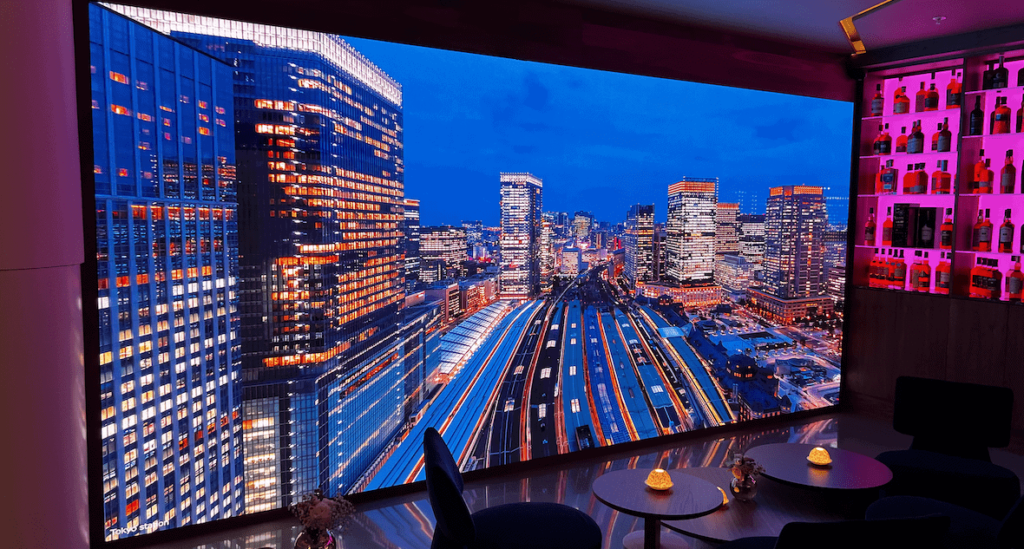
Step 1: Prepare Bill of Materials
Before installation, gather all necessary materials:
- LED modules
- Power supplies
- Receiving cards
- Cables (DC5V, AC, Ethernet, and flat cables)
- Steel structure for mounting
- Mounting screws and brackets
Step 2: Welding & Installing the Steel Structure
A strong support structure is essential for installing indoor LED modules directly onto the wall.
Welding Steel Structure
- Use precise welding techniques to create a stable and flat steel structure.
- Ensure proper alignment to prevent misalignment issues during installation.
Installing the Steel Structure
- Secure the steel structure to the wall or mounting surface using heavy-duty bolts.
- Check for any movement or instability before proceeding.
Step 3: Install the Power Supply and Its Cables
The power supply is crucial for the proper functioning of the LED modules.
- Installation of Power Supply: Secure the power supplies within the mounting frame.
- Connecting DC5V Cable & AC Cables: Ensure all power connections are properly insulated and routed to prevent overheating.
Step 4: Install the Receiving Card and Its Cables
The receiving card processes data and transmits it to the LED modules.
- Flat Cable Connection: Connect the flat cables between the LED modules and receiving card.
- Ethernet Cable Connection: Ensure stable data transmission by securely connecting Ethernet cables.
Step 5: Install the LED Module
Mount each LED module onto the steel structure carefully, ensuring:
- Proper alignment to prevent gaps between modules.
- Secure attachment using mounting brackets and screws.
- Connection of modules to power and signal cables.
Step 6: Configure and Debug
- Use LED control software to configure brightness, color calibration, and refresh rates.
- Test the display by running sample content and checking for errors.
Practical Tips for Convenient LED Screen Installation
- Plan Wiring Efficiently: Label cables for easy troubleshooting and maintenance.
- Ensure Proper Ventilation: Prevent overheating by maintaining airflow around power supplies and LED modules.
- Use Surge Protectors: Protect the LED screen from electrical surges that can damage components.
- Keep Spare Parts Available: Having extra LED modules and power supplies can help with quick replacements.
- Train Maintenance Personnel: Educate your team on basic troubleshooting to minimize downtime.
Conclusion
Installing an LED screen, whether outdoor with a cabinet or indoor without one, requires precision, careful planning, and attention to detail. Following the step-by-step process ensures a successful installation with optimal performance. By implementing proper maintenance, your LED display will deliver high-quality visuals and long-lasting durability, making it a worthwhile investment for any application.
FAQs
Q1: How long does it take to install an LED screen?
The installation time depends on the size and complexity of the screen. On average, it takes between 1 to 3 days for a full installation, including debugging.
Q2: What are the common issues faced during LED screen installation?
Some common issues include incorrect wiring, loose connections, power fluctuations, and improper alignment of LED modules.
Q3: How can I maintain my LED screen after installation?
Regular cleaning, software updates, and routine checks of power and signal cables help maintain optimal performance.
Q4: What is the best location for outdoor LED screens?
Choose a location with high visibility, minimal obstructions, and proper structural support to withstand environmental conditions.
Q5: Can LED screens be used in extreme weather conditions?
Yes, outdoor LED screens are designed to be weatherproof, but additional measures like protective coatings and ventilation can enhance durability.

